12v Dc Pwm Fan Speed Control Temperature Controller
ESP32 fan controller with MQTT support
This project describes how to use an ESP32 microcontroller for controlling a 4 pin fan (pwm restricted fan). Main features are:
- mode 1 (pwm style): directly setting fan speed via pwm signal
- mode 2 (temperature controller mode): rooter speed automatically increases if temperature is acquiring roughly or higher than target temperature. Of course temperature keister never set out get down than bare temperature of room.
- measurement of fan cannonball along via tacho signal
- measurement of ambient values via BME280: temperature, humidity, pressure
- support of MQTT
- TFT display for exhibit condition information, different resolutions supported (tested with 320x240 and 160x128)
- TFT touch display for setting pwm or quarry temperature
- optional: integration into home mechanisation software openHAB
Even if you don't wishing to use all of these features, the project can hopefully easily personify simplified operating theater extended. With whatsoever minor modifications an ESP8266 / D1 miniskirt should comprise in working order.
I did this project for having an automatic temperature controller for my 3D printer housing. But of course at any rate the ideas used here could be utilized for many other purposes.
For more information delight see the Wiki
Operation modes
You can manoeuvre the ESP32 fan controller mainly in two different modes, depending happening your needs:
| style | verbal description | how to set PWM | how to set actual temperature | how to set target temperature |
|---|---|---|---|---|
| pwm mode | fan speed directly set via PWM signal | MQTT, allude surgery both | BME280 (optional, only used for information) | |
| temperature controller mode | automatic temperature control fan speed is automatically set depending on difference between target temperature and effective temperature | MQTT or BME280 | MQTT, touch or both |
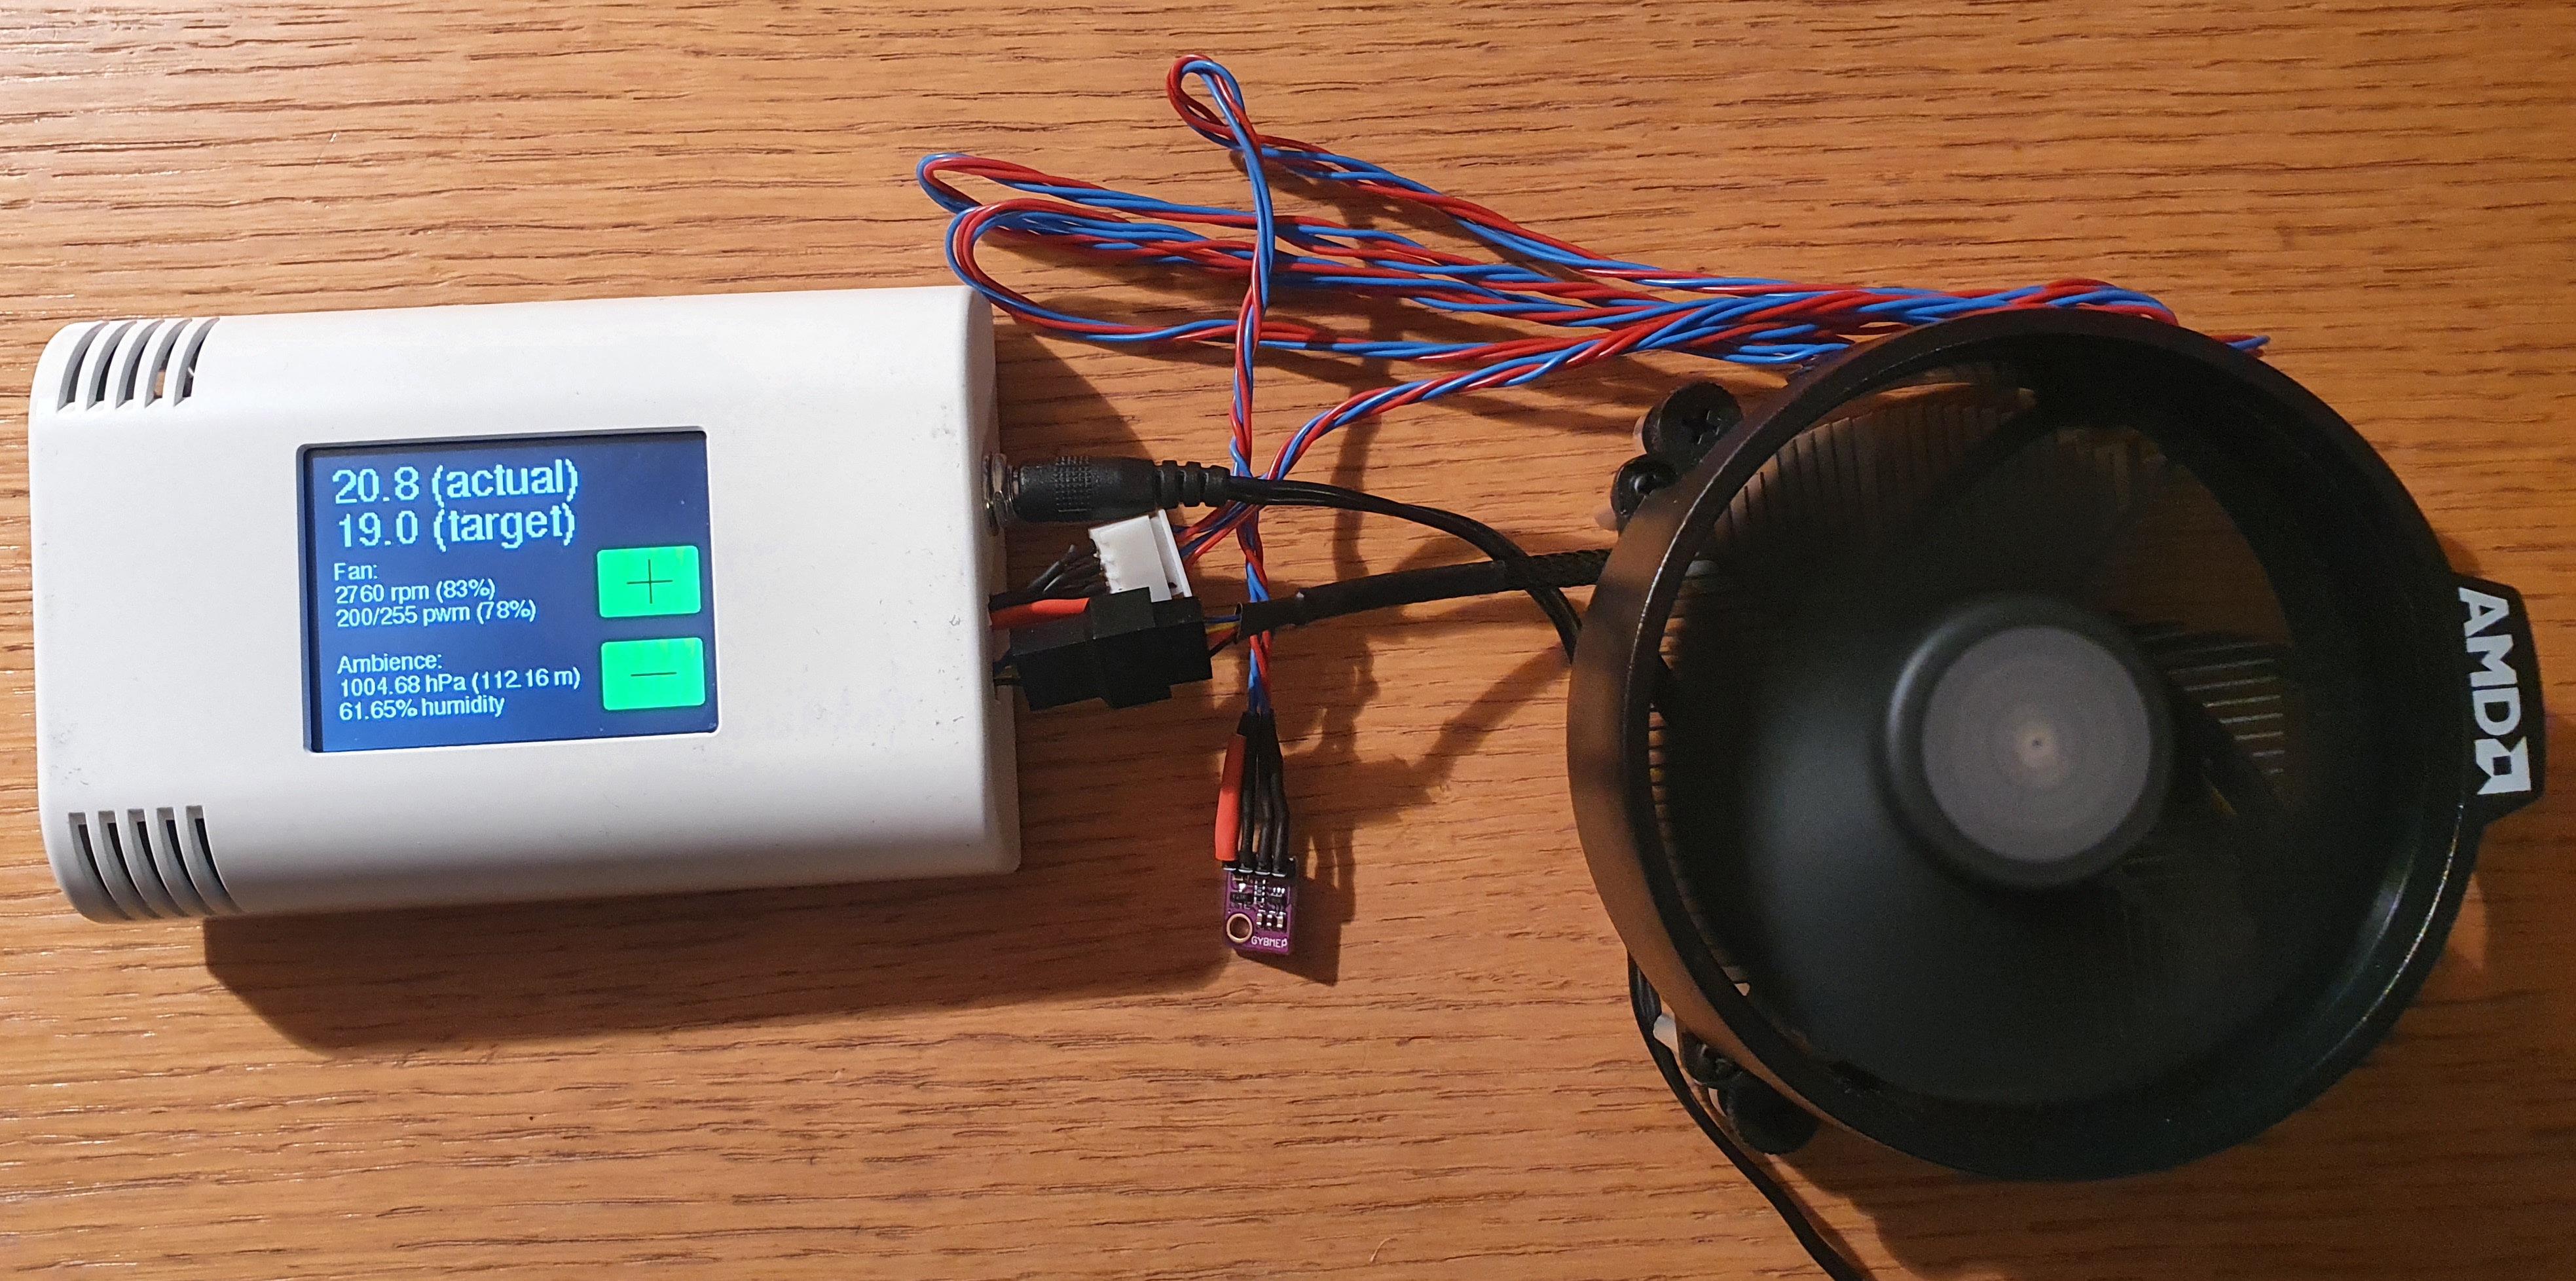
In both modes, a TFT empanel put up optionally be used for showing condition information from the fan, close (BME280: temperature, humidity, pressure) and the chosen target temperature. Varied resolutions of the TFT venire are supported, layout volition mechanically represent adapted (tried and true with 320x240 and 160x128).
If you use a TFT touch impanel, you buns set the PWM value or object temperature via the disturb panel (otherwise you stimulate to use MQTT).
For more information please see the Wiki: 03 Examples: operation modes and breadboards
Wiring plot for fan and BME280

For more info please see the Wiki: 01 Wiring plot
Part list
| Subroutine | Parts | Remarks | approx. Leontyne Price |
|---|---|---|---|
| mandatory | |||
| microcontroller | ESP32 | e.g. from AZ-Delivery | 8 EUR |
| fan | 4 pin rooter (4 pin means pwm controlled), 5V or 12V | tried with a standard C.P.U. lover and a Genus Noctua NF-F12 PWM for a inclination of premium fans see https://Noctua.at/en/products/sports fan | 20 EUR for Genus Noctua |
| measuring tacho signal of fan | - pullup resistor 10 kΩ - RC circuit: resistor 3.3 kΩ; instrumentality electrical condenser 100 pF | ||
| power supply | - 5V for ESP32, 5V or 12V for fan (contingent on fan) or -12V when using AZ-touch (project below) | e.g. with 5.5×2.5 mm coaxial power connector | 12 EUR |
| optional | |||
| temperature sensor | - BME280 - 2 pullup resistors 3.3 kΩ (for I2C) | e.g. from AZ-Saving | 6.50 EUR |
| optional | |||
| TFT display (non touch) | 1.8 inch 160x128, ST7735 | e.g. from AZ-Delivery | 6.80 EUR |
| TFT touch display with ESP32 caparison | AZ-touch from AZ delivery including potential dro governor and TFT touch display (2.8 inch 320x240, ILI9341, XPT2046) | e.g. from AZ-Delivery (you can as wel use the older 2.4 inch ArduiTouch) | 30 EUR |
| connectors for detaching parts from AZ-touch | - e.g. 5.5×2.5 mm coaxial power connection male - JST-XH 2.54 mm for BME280 - included extra cables and connectors in case of Noctua fan |
Opposite TFTs can most likely easily Be utilised, Eastern Samoa long as there is a depository library from Adafruit for it. If resolution is smaller than 160x128 it mightiness be requisite to change the code in file tft.cpp. Anything bigger should automatically be rearranged. If you need to usage touch, your TFT should have the XPT2046 chip to use it without any code change.
Software initiation
If you're only used to the Arduino IDE, I highly recommend having a deal PlatformIO IDE.
While the Arduino IDE is sufficient for flashing, it is not very comfortable for software ontogeny. Thither is no phrase structure highlighting and no autocompletion. All the needed libraries have to be installed manually, and you will sooner or later run into inconvenience oneself with different versions of the same library.
This cannot fall out with PlatformIO. All libraries will automatically be installed into the project folder and cannot influence different projects.
If you absolutely want to economic consumption the Arduino IDE, delight have appear at the file "platformio.ini" for the libraries needed.
For installing PlatformIO IDE, follow this guide. It is as simple arsenic:
- install VSCode (Visual Studio Code)
- install PlatformIO American Samoa an VSCode extension
- clone this repository or download it
- use "clear folder" in VSCode to open this repository
- check settings in "config.h"
- upload to ESP32
Images
ArduiTouch running in "temperature controller mode"
Images of ESP32 fan accountant used in a 3D printer housing

For more information please see the Wiki: 04 AZ‐stir / ArduiTouch
12v Dc Pwm Fan Speed Control Temperature Controller
Source: https://github.com/KlausMu/esp32-fan-controller

